Configuration
Plant/Project:
Objective: It allows Administrator user to create new Plant/Project. Update/view existing Plant/Project in the system.
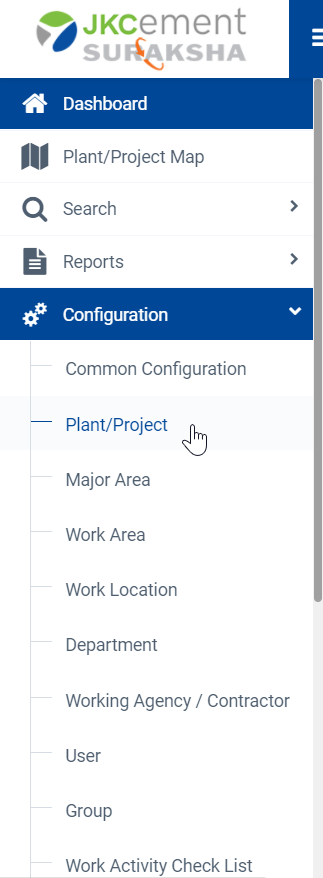
Image 1
- To configure new Plant/Project, open Plant/Project Page from configuration menu.
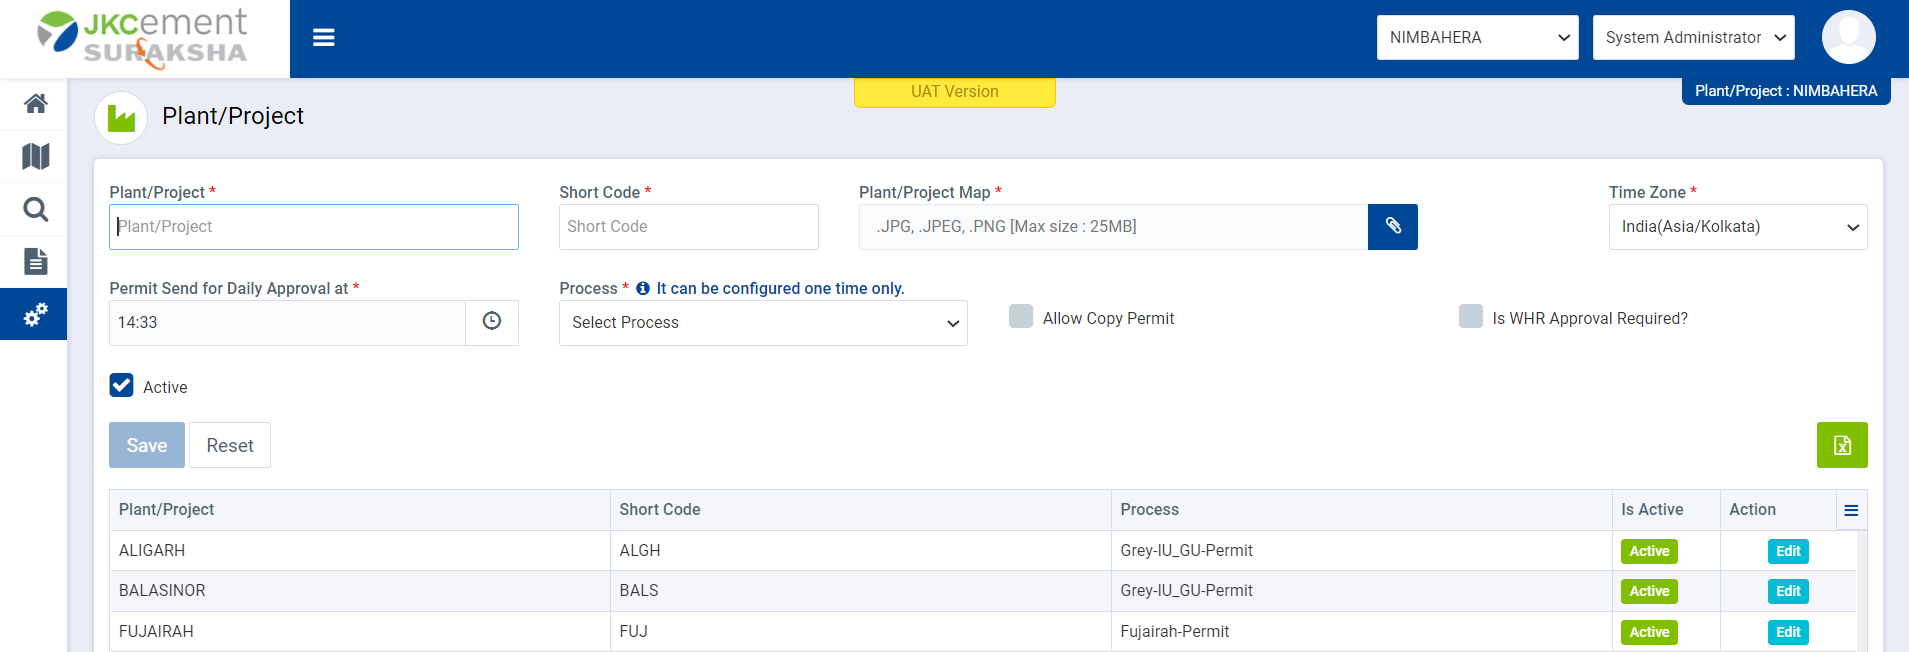
Image 2
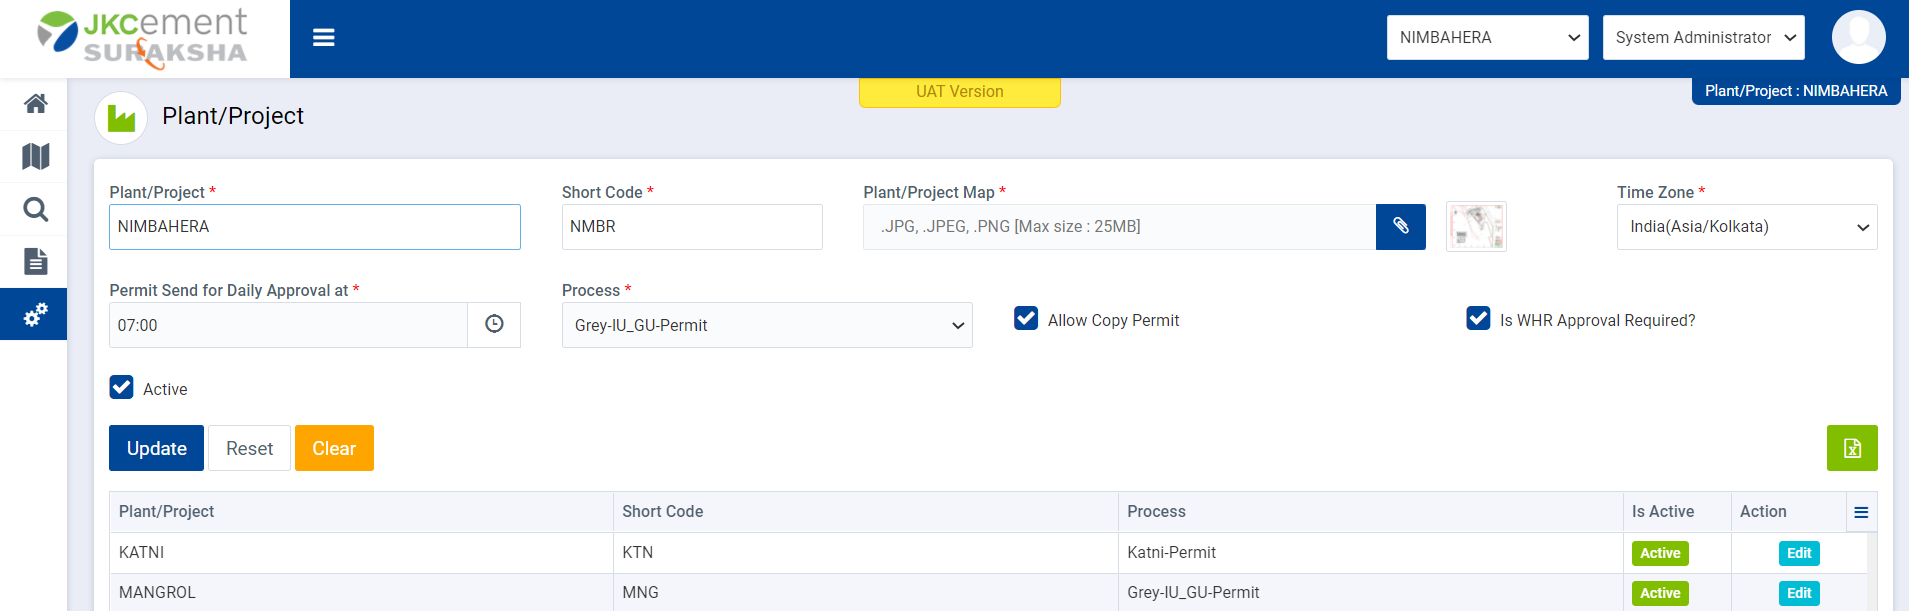
Image 3
- Enter Plant/Project name and Short Code in respective text boxes.
- Click on ‘attachment’ icon to upload Site map.
- User can upload site map here, Image should be .JPG, .JPEG, .PNG and Max size should be 25MB.
- User can select ‘Time Zone’ from Time zone drop down field.
- User can define ‘Permit Send for Daily Approval at’ time by selecting time here.
- Select process workflow from ‘Process’ drop down.
- Select ‘Allow Copy Permit’ Checkbox, if user wants to perform copy permit functionality from closed permit.
- Select ‘Is WHR Approval Required’ Check box, if user wants WHR Approval during Excavation Process.
- Check/uncheck ‘Active’ check box to make a ‘Plant/Project’ active/inactive.
- Click on Reset button to clear all the entry fields.
- Click on Save button to save the ‘Plant/Project’ details.
- User can Edit/Update existing ‘Plant/Project’ by clicking on edit button. Here user cannot change Process.
- If required user can export list of all the plant/project list in the excel sheet by using ‘Export’ button from at the top of grid data.